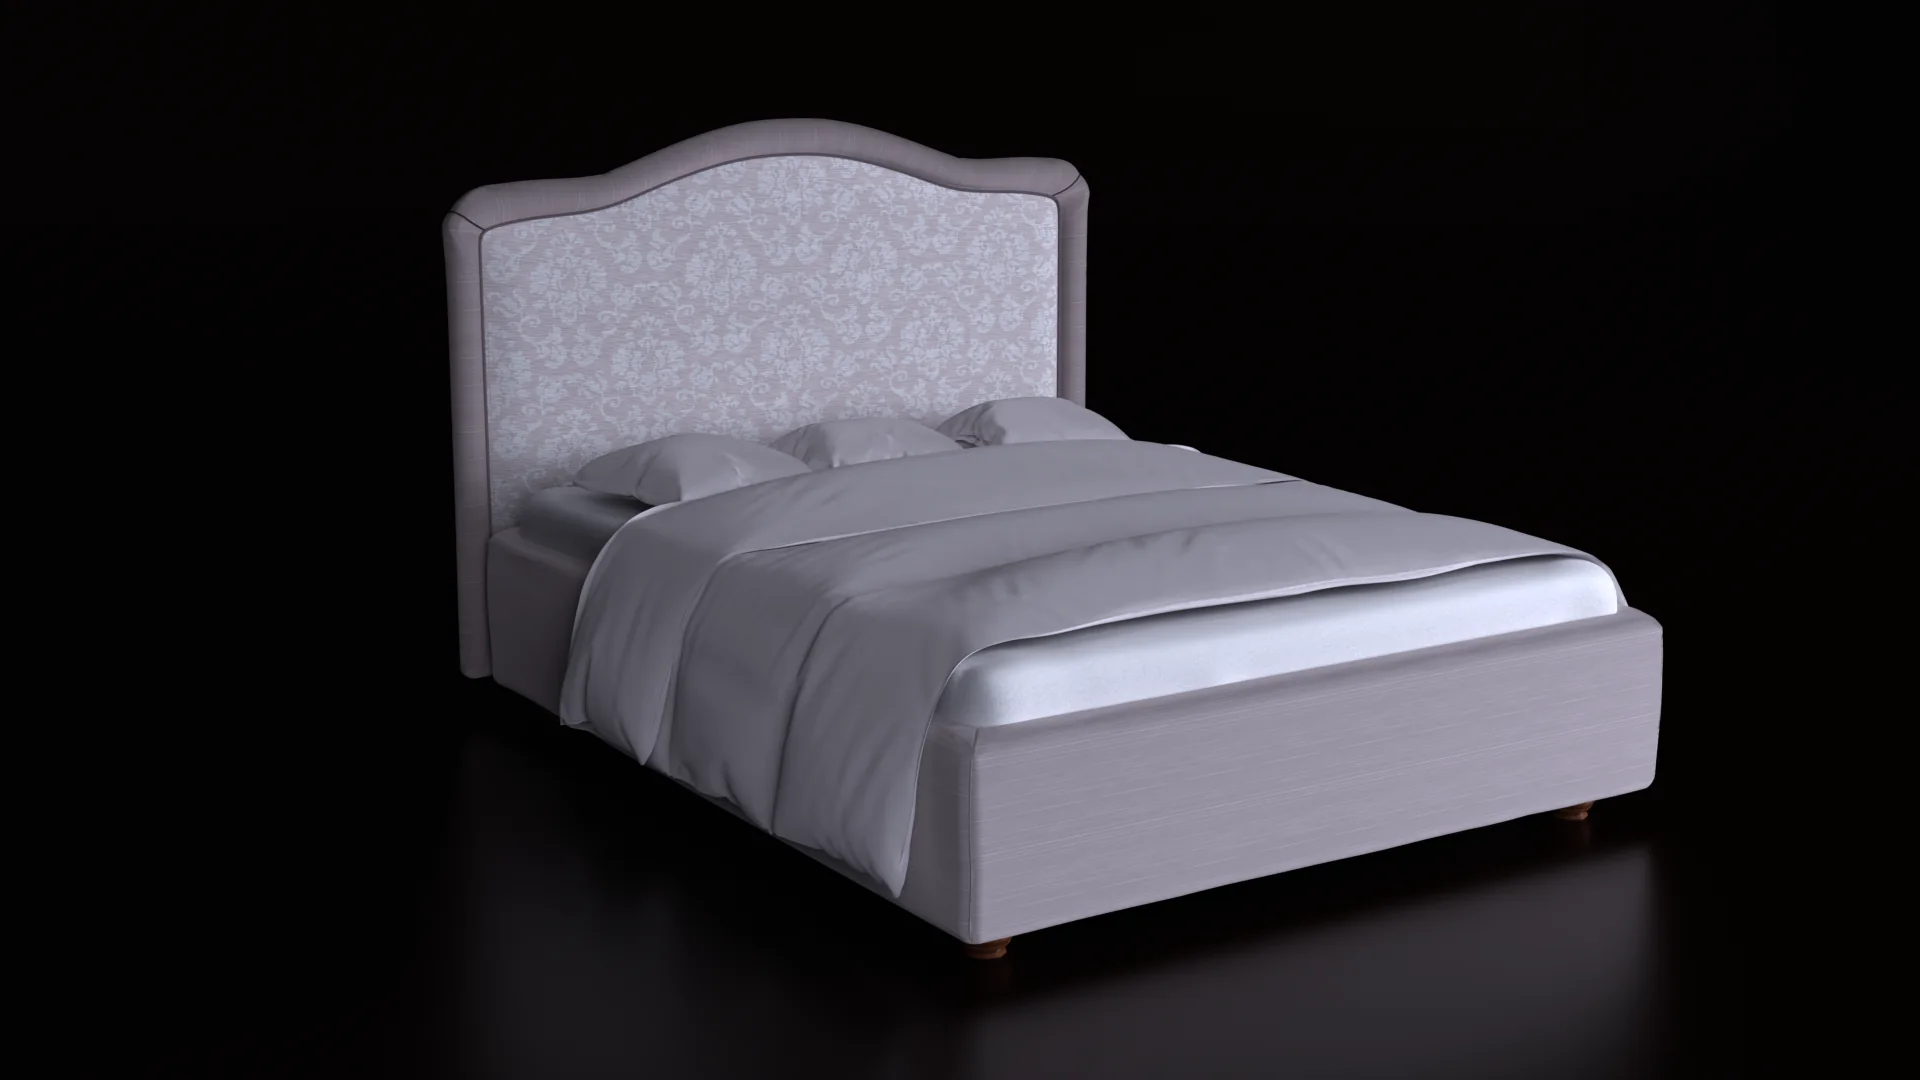
A furniture catalogue with 200 pieces is not 200 render jobs. It's one lighting setup, one camera rule and one material library, applied 200 times without anybody getting creative halfway through. That's the whole trick to 3D visualization for a furniture catalog, and it's also the part most people get wrong, because the temptation to improve each image on its own is strong and it quietly ruins the set.
I'll go through how I build that setup, what it costs in render time, and where the consistency usually breaks.
Why a catalogue falls apart at piece 40
Open any catalogue that was rendered over several months by a few different people. The oak on page 12 is warmer than the oak on page 60. One sofa has a soft shadow going left, the next one has a hard shadow going right. The armchairs look slightly bigger than the three-seaters because somebody moved the camera closer to fill the frame.
None of those images is bad. Together they look cheap.
A buyer flipping through a range reads differences between pictures as differences between products. If two tables in the same oiled oak finish look like two different woods, the customer assumes they are, and then the showroom gets a phone call. So the job is less about making one beautiful picture and more about removing every variable that isn't the furniture itself. Light, camera, exposure, background and colour pipeline all get frozen. Only the model and its materials change.
One lighting rig, locked on day one
My catalogue rig in Blender is boring on purpose. A large overhead softbox, roughly 4 by 3 metres, sits about 2.5 metres above the floor and does most of the work. A second, weaker area light comes from the front left at about 35 degrees to give wood grain and fabric weave some direction. A white bounce card on the right keeps the shadow side from going muddy. That's it. No rim lights, no coloured accents, no HDRI with a window in it that shows up as a strange reflection on every lacquered surface.
The numbers matter less than the fact that they never move. I save the rig as its own .blend file, link it into every product scene instead of copying it, and lock the objects so I can't nudge one by accident at 11 pm. Exposure is fixed too. If a black leather chair renders dark, good: it's a black leather chair. Lifting the exposure for dark pieces and dropping it for white ones is the most common mistake I see, and it's exactly what makes a walnut sideboard look like teak three pages later.
The floor is a shadow catcher under a pure white background, so the cut-outs come out with a soft contact shadow and the page designer can drop them on white without masking anything. I keep the shadow at one fixed strength for the whole range. (It sounds fussy. It's the first thing an art director notices.)
Cameras: three angles and a height rule
For a typical range I agree three views per piece before I render anything: a front three-quarter at about 30 degrees, a straight front, and one detail. Everything is shot at 70 to 85 mm focal length, because wide lenses stretch the near corner of a cabinet and make a 180 cm sideboard look like a 240 cm one.
Camera height is tied to the product category, not to the individual piece. Seating gets shot from about 110 cm, tables and storage from about 140 cm, beds a little higher so the mattress surface reads. Then comes the rule people resist: I don't zoom to fill the frame. Within a category, the camera distance stays the same, so a two-seater is visibly smaller in the picture than a three-seater. If every product fills 90 percent of the frame, the customer loses all sense of scale, and scale is half of what they're trying to judge.
Does that leave some small stools floating in a lot of white? Yes. The layout person can crop. They can't invent a size relationship that the renders threw away.
The material library is where the real work is
Geometry is rarely the problem. Most furniture makers have CAD for production, and a STEP file of a table converts cleanly: I'll usually spend 20 to 40 minutes per piece on import, fixing normals, adding a 0.5 to 1 mm bevel on sharp edges so they catch light, and separating parts by material. Upholstery is slower, since CAD cushions are flat boxes and need to be rebuilt or simulated so they look sat on.
Materials are different. A 200-piece range might use only 6 woods, 4 metal finishes and 30 fabrics, and each one has to be built once, approved once, and then never touched. I ask the manufacturer for physical samples or at least flat, evenly lit photos with a ruler in frame. The ruler isn't decoration: fabric weave has a real size, and if the bouclé loops are 4 mm across on the armchair they'd better be 4 mm on the footstool. I set texture scale in real-world units for that reason, so a new piece picks up the right weave size the moment the material is assigned.
Two winters ago a bed frame maker sent me 14 frames that each came in 6 fabrics. I built the first three fabrics quickly, sent test renders, and the feedback was that the grey looked blue. It did. My reference photo had been taken near a window on an overcast day. We lost about two days re-matching against the actual swatch card under a neutral lamp, and since then I don't start a range until I've got swatches or a properly lit reference for every finish. Two days at the start is cheap. The same mistake found at piece 80 means re-rendering 80 pieces.
Batch rendering 200 pieces without babysitting
Once rig, cameras and materials are frozen, the rendering itself is a queue. I keep one .blend per product, all linking the same rig and library, and a short Python script walks the folder, sets the output name from the SKU and view, and renders each camera. File names come out as something like SKU-1042_oak-natural_front34.png, which saves the client's web team from renaming 600 files by hand.
On my GPU a 3000 by 3000 pixel cut-out in Cycles at 512 samples with denoising takes roughly 2 to 4 minutes for hard furniture and 5 to 8 for heavy upholstery with fuzzy fabric. Call it 600 images at an average of 4 minutes: about 40 hours of machine time, which is two nights and a weekend, not a month. The human time is in preparation and checking.
Checking is its own step, and I don't skip it. I lay every finished image into a contact sheet, 20 to a page, and look at them small. At thumbnail size you can't see the modelling, so the only things that jump out are the things that matter here: a piece that's brighter than its neighbours, a wood tone that drifted, a shadow that's missing. I catch more on a contact sheet in ten minutes than in an hour of opening files one by one.
Room scenes: fewer than you think
Cut-outs sell the detail, room scenes sell the mood, and a catalogue needs both. It doesn't need 200 rooms. For a full range I'd plan 5 to 8 room sets (a living room, a dining space, a bedroom, a hallway, maybe a study and a terrace) and rotate products through them. Each set has its own fixed daylight direction and camera positions, so the same discipline applies. The page on 3D interior rendering shows the kind of sets I mean.
Room scenes are where I allow some freedom, with one limit. The product's material is the library material, untouched. The room light can be warm evening or cool morning, but if the oak looks nothing like the oak in the cut-out next to it on the same spread, I adjust the room, never the wood.
What I'd actually do with a 200-piece range
I wouldn't start with 200. I'd pick 10 pieces that cover every category and every awkward finish (the darkest wood, the whitest lacquer, the shiniest metal, the fuzziest fabric) and take those all the way to final images. That pilot is where the rig, the camera heights and the materials get argued about and signed off. It usually takes a week or two, and it feels slow.
After that, the other 190 are production.
I'd also resist the request that always arrives around the halfway mark: "can we make this one a bit more dramatic, it's our hero product?" Sure, as a separate hero image for the cover or the homepage. Not in the grid. The grid stays flat and honest, and the hero shots get their own lighting and their own budget. Mixing the two is how a catalogue ends up with a second, competing style by the last chapter.
And keep the files. When next year's range adds 25 pieces and a new fabric, the rig and library are already there, so the new pages match the old ones without anybody trying to remember what the light looked like. I did 20 catalogue visualisations for a German sauna manufacturer on the same principle, and the later models dropped into the set without a visible join. If your products are closer to that world, the approach on my sauna visualization for manufacturers page is the same one described here.
What to send to get a quote
I don't publish a per-image price for furniture, because a steel shelf and a tufted sofa aren't the same amount of work. Every range gets a fixed written quote after I've seen the product list. What I need to give you a number: the list of pieces with dimensions, the CAD files you have (STEP is best, anything is better than nothing), the list of finishes with swatches or good photos, the views per piece, and the output size the printer or web shop wants.
If you've got a range that needs to look like one family, have a look at how I handle furniture and lighting rendering, or the broader 3D product rendering page if your products aren't strictly furniture. Then send me the list and the ten pieces you'd pick for a pilot. I'll tell you honestly what it needs.