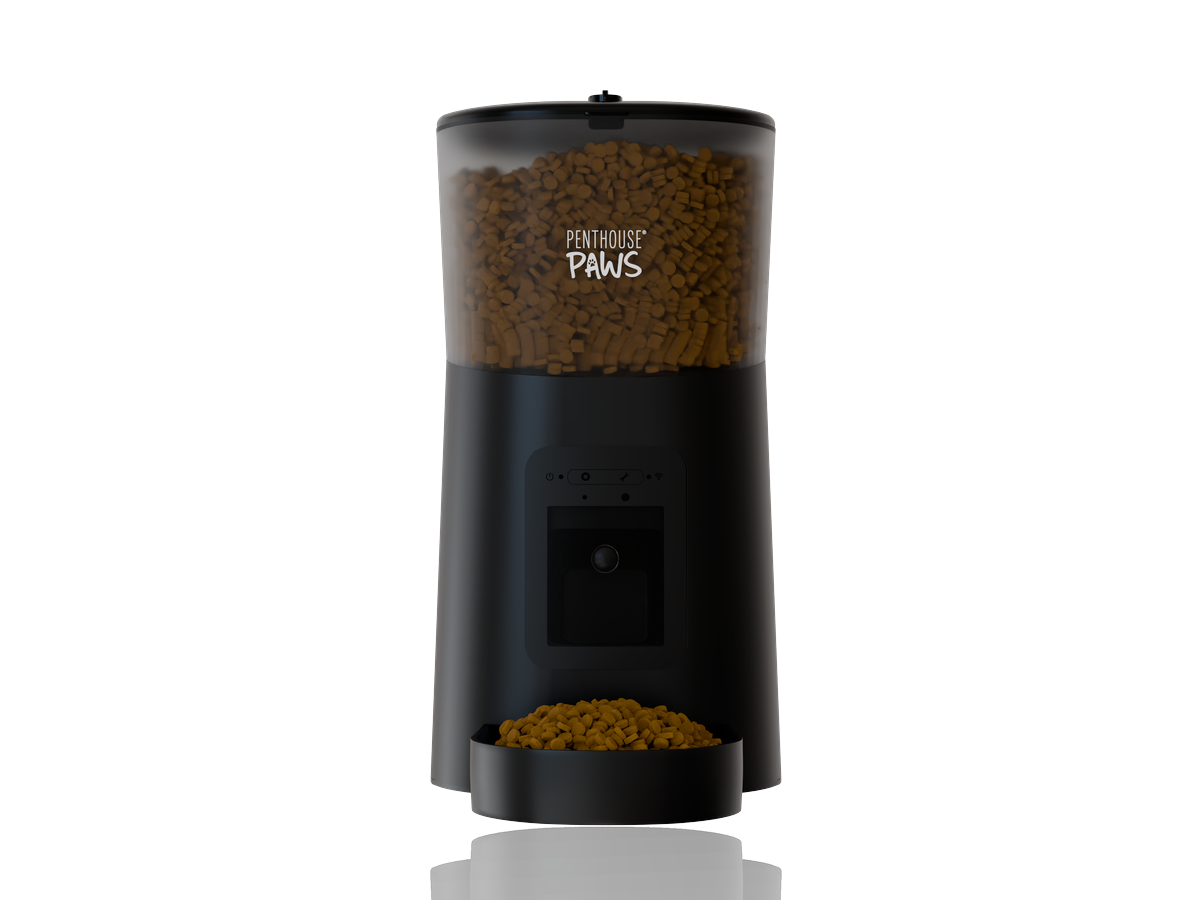
For a typical product render in Blender Cycles I set a noise threshold of 0.01, cap the samples at 1,024 and let the denoiser finish the job. That's it for about 80% of my studio shots. Glass, liquid, caustics and dark velvet backdrops need more, sometimes 4,096 samples, and a flat white packshot on a grey sweep can look clean at 256. So the honest answer to "how many Cycles samples does a product render need" is: fewer than most people use, as long as you know which parts of the image are actually noisy and why.
Here's how I decide, with the numbers from my own render logs.
Samples are a ceiling, not a target
Since Blender 3.0, Cycles uses adaptive sampling by default. You give it a maximum sample count and a noise threshold, and it stops sampling each pixel once that pixel's estimated noise falls below the threshold. A flat background pixel might be done after 60 samples. A pixel inside a frosted glass lid might still be working at sample 1,024.
That changes how you should think about the number in the Max Samples field. Raising it from 1,024 to 4,096 doesn't make the whole frame four times slower. It only gives the stubborn pixels more room. On a 3,000 × 3,000 px packshot of a black smart feeder I did last year, going from 1,024 to 4,096 max added about 40% to the render time, not 300%, because most of the frame had already converged.
The noise threshold is the setting that really moves quality and time.
The default is 0.01. Dropping it to 0.005 roughly doubles render time on most of my scenes and the difference after denoising is often invisible at web resolution. Pushing it up to 0.05 is fine for previews and terrible for anything with soft gradients, because the denoiser starts inventing blotches in the shadow falloff.
My starting values by product type
These are the settings I open a scene with. They're starting points, and I adjust after a test region render, but they save me guessing every time.
| Scene type | Max samples | Noise threshold | Typical time per 3,000 px frame |
|---|---|---|---|
| Opaque plastic product on white sweep | 256 to 512 | 0.02 | 2 to 4 min |
| Metal and painted parts, studio HDRI | 1,024 | 0.01 | 5 to 9 min |
| Packaging with print and foil | 1,024 | 0.01 | 6 to 10 min |
| Glass, liquid, transparent lids | 2,048 to 4,096 | 0.01 | 15 to 40 min |
| Interior lifestyle shot with the product | 2,048 | 0.01 | 20 to 45 min |
The times are from a single RTX-class GPU with OptiX and they vary a lot with scene complexity, so treat them as ratios rather than promises. What matters is the jump between rows: transparent materials cost an order of magnitude more than opaque ones. If you're budgeting a job with a glass bottle in it, that's where the hours go. I wrote more about why in my piece on rendering glass and liquid.
Where the noise actually comes from
When a render is still grainy at 2,048 samples, more samples is rarely the right fix. The noise has a cause, and the cause usually sits in one of four places.
Small, bright light sources are the first suspect. A tiny area light, or an HDRI with a hard sun disc, sends light through very few paths, so every sample is a lottery ticket. Making the light physically larger (and dropping its power to compensate) cleans up shadows faster than doubling samples. I almost always use 1 to 2 metre softboxes in a product scene for exactly this reason.
Light coming through glass is the second. If your product sits behind or inside a transparent part, Cycles has to find light paths that pass through refractive surfaces, and with caustics enabled that's slow and spotty. For most commercial shots I turn off refractive caustics entirely and nobody ever notices. Real product photographers fake those highlights with reflectors anyway.
Third, indirect light bouncing into a tight space. The inside of a box, the gap between a lid and a housing, a dark cavity in an enclosure. These pixels converge last. Sometimes a small fill light pointed into the cavity fixes in 30 seconds what 3,000 extra samples wouldn't.
And fourth, fireflies. Single white pixels that come from a rare, very bright path, often a glossy bounce off a light. Clamp Indirect at 10 handles most of them. I leave Clamp Direct at 0, because clamping direct light dulls specular highlights on metal and the product starts to look like painted plastic.
The denoiser changes the maths
OpenImageDenoise is good enough now that a 512-sample render with denoising often beats a 4,096-sample render without it. That's not a reason to go cheap, though. The denoiser needs enough information to tell detail from noise, and when it doesn't have it, it smears.
Where it smears is predictable: fine embossed text on packaging, knurling on a dial, brushed metal grain, fabric weave. I've had a supplement pouch where the 6 pt ingredient text turned into soft grey mush at 256 samples. Same scene at 1,024 and the text was crisp. The denoiser wasn't the problem. It just didn't have enough clean samples on those pixels to work with.
So my rule is simple: the more fine detail the client will zoom into, the higher the floor.
I also render the denoising albedo and normal passes and keep them. If a client later says one area looks waxy, I can re-denoise with different settings in the compositor without rendering again. That's saved me a full overnight re-render more than once.
Common mistakes I see in files people send me
A lot of the Blender scenes I inherit have been "fixed" by someone who cranked samples to 10,000 and the noise threshold to 0.001. The render takes three hours a frame and still has noise in the shadows, because the real problem was a 5 cm area light at 2,000 W.
The other one is rendering at final resolution for every test. You don't need a 4,000 px frame to judge noise. I render a 600 × 600 px region (Ctrl+B in the camera view) over the darkest, glossiest part of the product and judge from that. A region test takes 20 seconds. A full frame takes 10 minutes. Over a day of lighting tweaks, that difference is hours.
And then there's the opposite mistake, which is counter-intuitive: too few samples on an animation. A turntable at 128 samples with temporal denoising can look fine frame by frame and then shimmer badly in playback, because each frame's denoise guess is slightly different. Animations need more samples per frame than stills, not fewer. For product turntables I rarely go below 512.
What I'd actually do on a new product render
Start with 1,024 max samples, a 0.01 noise threshold, OIDN denoising, Clamp Indirect at 10 and refractive caustics off. Render a small region over the worst area. If it's clean, render the full frame and move on.
If it isn't clean, don't touch the samples first. Look at the noisy area and ask which of the four causes it is. Bigger light, fill light, caustics off, clamp. Then test the region again.
Only after that do I raise samples, and I raise the max rather than lowering the threshold, because it's cheaper. Glass and liquid scenes go straight to 2,048 or 4,096 and I accept the time.
Why not just set 4,096 for everything and be safe? Because time is money in a very direct way here. On a catalogue job with 20 frames, the difference between 6 and 20 minutes per frame is the difference between rendering during lunch and rendering overnight, and an overnight render that fails at frame 14 costs a full day. For a set of sauna catalogue images I did for a German manufacturer, getting each frame under 10 minutes meant I could do two lighting revisions in the same day instead of one per day.
When I quote 3D product rendering work, these settings are baked into how long I expect a job to take. Transparent parts, fine printed detail and animations all push the estimate up, and I'll tell you up front which of those applies to your product.
What about KeyShot or V-Ray?
The same logic applies, just with different names. KeyShot works with a sample count per frame or a time limit, and its denoiser hides a lot of low-sample noise on simple products. V-Ray uses a noise limit that behaves much like Cycles' threshold. I use all three, and in each one the expensive cases are the same: transparency, small lights, tight cavities and fine detail. Learn to spot those four and you'll set samples correctly in any engine.
If you've got a product scene that won't clean up, or a CAD model that needs to become a clean set of product visualization images, send it over and I'll tell you honestly what it needs and roughly how long it will take to render.