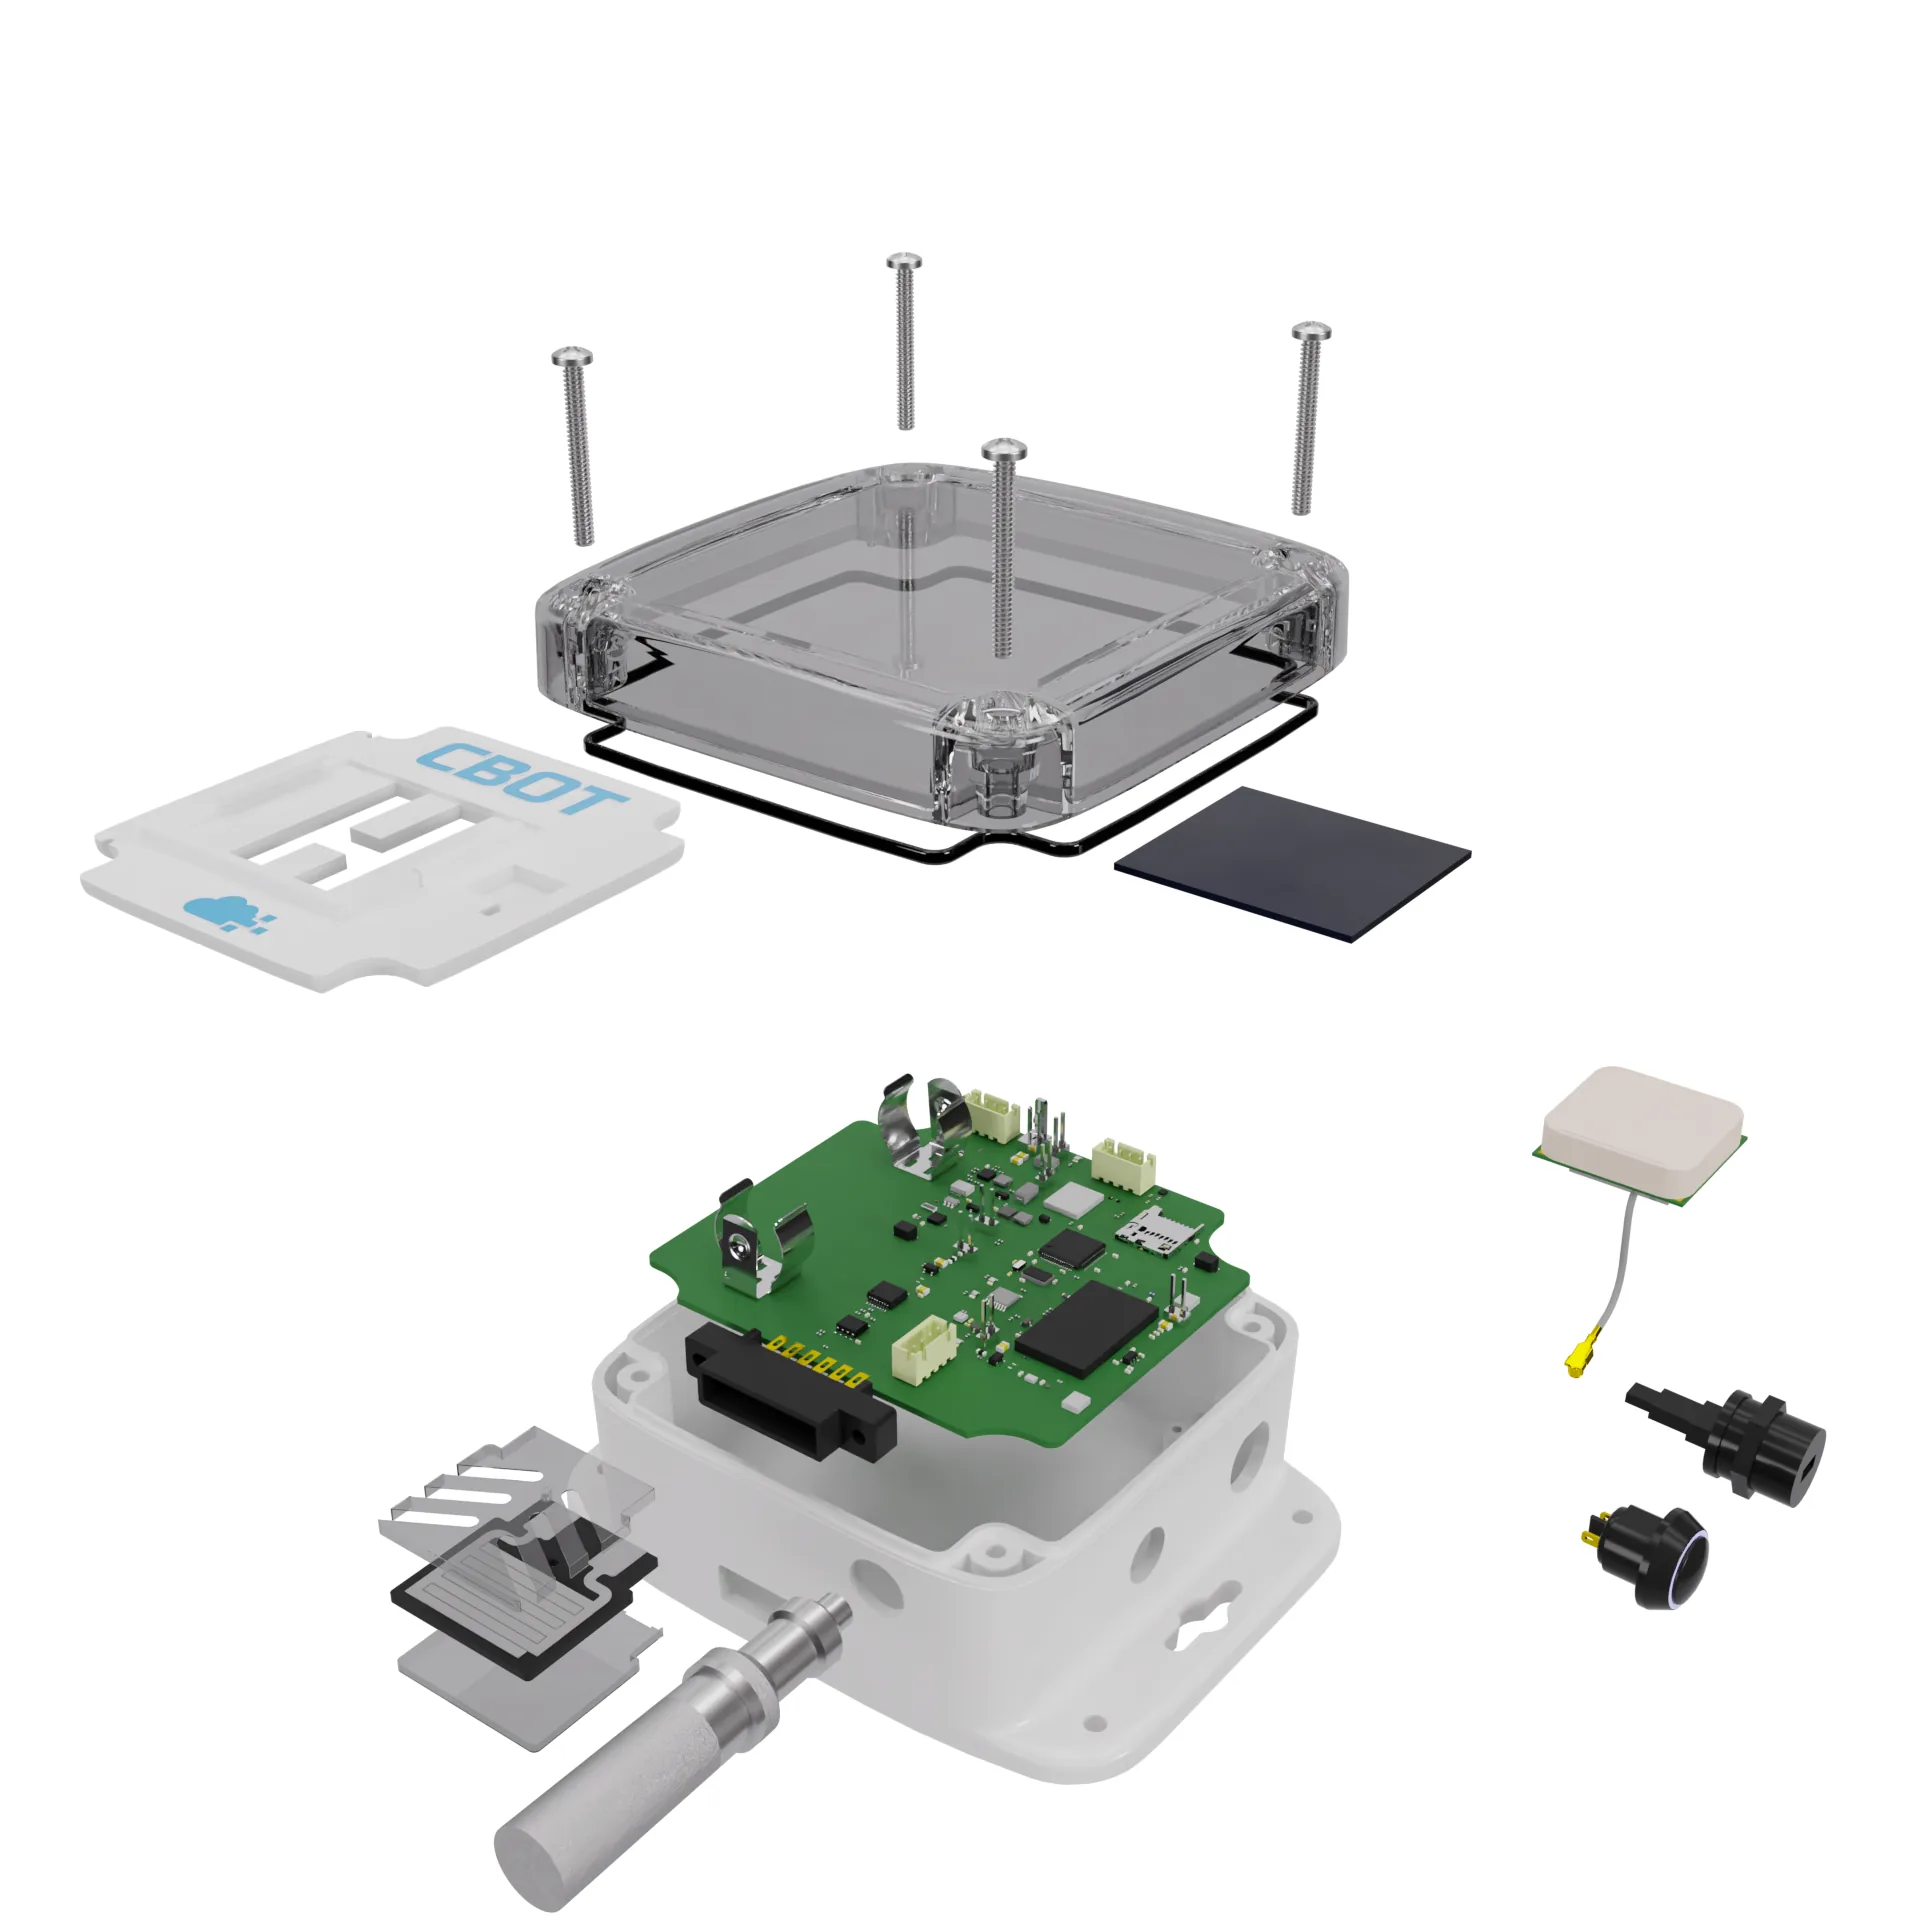
A 3D animation of a product assembly is usually 10 to 30 seconds of parts moving into place, rendered from the same CAD the factory uses. At 24 frames per second a 20-second clip is 480 frames, and every one of those frames costs render time, so the length you ask for drives the budget more than anything else. It pays off in three places: crowdfunding pages, trade fair screens and assembly instructions. Almost everywhere else, a good still does the job for less.
I've built these for sensor enclosures, pet feeders, mattresses and modular sauna cabins. Here's how I think about them before anyone opens Blender.
What one second of animation actually costs
Start with frames. 24 fps is the film default and looks fine for mechanical motion. 30 fps suits screens and social video. 60 fps is almost never worth it for an assembly sequence, because nothing moves fast enough to need it and it doubles the render.
Then render time per frame. A product on a clean studio background in Cycles at 1920 × 1080 typically takes me 30 to 90 seconds a frame on a single GPU, once denoising is on and the samples are sensible. Glass, liquids or a full room around the product can push that to 3 or 4 minutes. So a 20-second clip at 24 fps lands somewhere between 4 and 27 hours of machine time, and that's before the inevitable second render after someone spots a wrong screw colour on frame 212.
4K quadruples the pixels. Expect render time to roughly triple or quadruple with it.
Machine time is the cheap part, though. The real cost sits in setup hours: cleaning the CAD, rigging the motion so parts travel along believable paths, timing it so a viewer can follow, and the camera work. On a typical 15-part enclosure I'll spend more time on timing than on materials (materials I can mostly reuse from the still renders, if those exist).
Where an assembly animation pays off
Crowdfunding first. Backers want proof that the thing has been engineered, not just styled. A 15-second sequence where the PCB drops into the housing, the gasket seats and the lid screws down says "we've designed the inside" more convincingly than any paragraph. If you're already planning Kickstarter product renders from CAD, the animation reuses the same scene, so the extra effort is mostly motion and render time.
Trade fair screens second. A loop that plays silently on a 55-inch monitor next to the physical product pulls people over to the stand. It has to read with no sound and no narration, from three metres away. That changes the design: slower moves, bigger parts, fewer of them.
Assembly instructions third, and this one's underrated. A short clip per step, embedded in a web manual or linked by a QR code on the box, cuts support emails for flat-pack and DIY products. Each clip can be 4 to 6 seconds, so the total frame count stays small even across 12 steps.
Where it doesn't pay off: Amazon main images (static), catalogue pages (static) and most B2B sales decks, where a well-chosen still or an exploded view rendering carries the same information in one glance and also prints.
The common mistake: animating every part
The request I hear most is "show everything coming together". A real product might have 60 parts, half of them screws, washers and clips. Animate all of them and you get 40 seconds of hardware raining down while the viewer loses track of what matters.
Group the parts instead. Fasteners arrive in sets, or appear already in place. Sub-assemblies (the motor with its bracket, the PCB with its connectors) move as one block. I usually aim for five to eight events in a 20-second clip, each followed by half a second of stillness so the eye can catch up.
Last spring a founder sent me a STEP file of a countertop appliance with 140 bodies and a wish list that included every screw spinning in. We cut it down to seven events. The clip came out at 18 seconds, and that's the version that went on their landing page, not the longer test I'd made to show why it didn't work.
Fewer moves, more clarity.
It sounds obvious until it's your product and every part was hard-won.
Motion that looks engineered, not floaty
Parts should travel along their real assembly axis. A screw comes straight down its hole. A lid drops vertically, then rotates the last few degrees if it's a twist lock. A drawer slides along its rails. When parts swoop in on curved paths from off-screen, the clip starts to look like a game intro and quietly undermines the engineering message.
Easing matters more than people think. Purely linear motion looks mechanical in the wrong way, and a heavy ease-in and ease-out makes everything look like it's on springs. I use a short acceleration, a constant middle and a firm deceleration over the last 10 to 15 percent of travel, which is roughly how a hand places a part.
Clearances must be honest too. If the gasket clips through the housing wall on frame 140, someone at the factory will notice, and then nobody trusts the rest. Checking interference in Fusion 360 before export saves that conversation.
Camera: one slow move, or none. A gentle push-in or a 30-degree orbit across the whole clip is plenty. Cutting between angles works for longer pieces, but every cut is another shot to light and check.
What I need before starting
The CAD as STEP or native Fusion 360, with the assembly structure intact. A flattened single-body mesh makes grouping parts painful. Then a rough storyboard, even a list typed into an email: base, then motor, then PCB, then lid, then logo end card. And the destination, because a 9:16 phone clip and a 16:9 trade fair loop need different framing from the very first frame.
If there's a voice-over, I need the script timed before animating, not after. Re-timing finished motion to match narration is slow, fiddly work.
What I'd actually do with a limited budget
Make the stills first. A hero shot, an exploded view, maybe a cutaway. Those cover the website, the listing and the brochure.
Then, if crowdfunding or a fair is on the calendar, add one 12 to 20 second assembly clip in 1080p at 24 fps, reusing the still-render scene. Skip 4K unless it's going on a very large screen, because nobody watches a product page video in 4K on a phone. Keep it under eight events, give it a clean end frame with the product assembled and the logo, and export a silent version plus a square crop for social.
Want a cheaper middle ground? A turntable. One product, one rotation, 8 seconds, no rigging at all. It isn't an assembly animation, but for plenty of e-commerce pages it does most of the job.
What I wouldn't do is commission a 60-second explainer with every part animated before the design is frozen. Each change after animation starts means re-rendering, and in my experience the CAD always changes at least once more before tooling.
Getting it made
An assembly animation sits on top of solid product visualization work: clean CAD, good materials, believable lighting. If those already exist, the animation is a matter of days rather than weeks. If you're not sure whether you need motion at all, I've written about the static version in exploded views for assembly instructions, which is often the cheaper answer.
If you have a STEP file and a launch date, send it over and I'll tell you honestly whether it needs motion or just better stills.